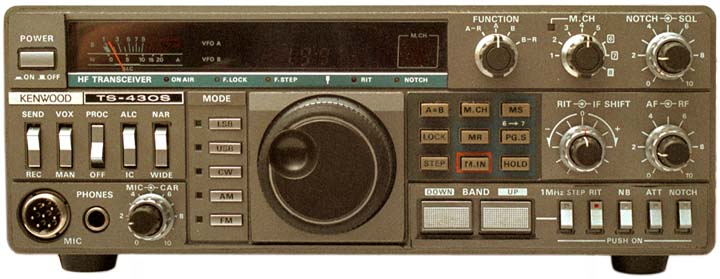
|
Common faults: Intermittent Drop in Power Output, Erratic ALC behaviour, SSB distortion: Unless your TS430 has been in a store room since it was manufactured, you have an appointment with the vias (PCB through-hole connections) and soldered joints around the PA final transistors. All units will eventually fail through solder-fatigue; brought on by constant temperature cycling, and exacerbated by embrittlement due to migration of gold atoms from the transistor tabs. This is not a problem exclusive to the TS430, but the cheap construction, particularly the SRBP circuit board with riveted vias, is something of a liability in this case. This is one area in which periodic maintenance can help to prevent disaster; the disaster in question being the open-circuiting of the PA transistor base connections, and consequent failure of the driver and driver-bias transistors. Warning signs are (as in the heading) one or more of the following: Intermittent variation in output power, erratic ALC level indication, and reports of audio distortion on SSB signals. If you are receiving reports of distorted SSB, one simple way to isolate the problem is to listen to the output of the SSB exciter. To do this you will need an additional short-wave receiver capable of working with headphones, and a dummy load for listening to the final output. Simply pull the final drive cable from the RF board and insert a short length of hook-up wire (~0.5 m) into the socket, taking care not to short the drive output to ground. A clean signal from the exciter indicates that the problem is definitely with the PA. The final unit must be removed from the transceiver and the PCB detached from the heat-sink to gain access to the offending connections. This might seem daunting, but is actually straightforward if a few sensible precautions are taken during the dismantling and recommissioning phases. A suitable procedure is as follows: 1) Having removed the transceiver top and bottom covers, unscrew and pull out the back panel with the final (PA) unit attached to it. Unplug the antenna connector from the LPF board. Unplug the final drive (co-ax) cable from the RF board. Unplug the final RF output cable and the fan and thermistor connectors from the LPF board. Fold the back-panel down as far as possible and remove the internal cover from the final amp. The remaining wires can now be unplugged, except for the +13.8 V (thick red wire) supplying the output transistors, which should be unsoldered from the tag next to the power input connector. Unscrew the final amp. module from the rear panel and remove it. Some of the wires leading to the rear-panel connectors are quite likely to fall-off during reassembly, so make a note of the colours now. 2) Remove the final amp PCB retaining screws, transistor retaining screws, and the thermistor retaining screw, and separate the board from the heat-sink. Note which transistors require mica washers, then clean off all of the old heat-sink compound with isopropanol and cotton buds. Inspect the PA transistor base via rivet heads (2 per transistor) on the underside of the PCB. A dark circle in the solder indicates that the connection has failed (even though it may exhibit a low DC resistance at the time of examination). The problem is clearly evident in the photograph below (yellow arrows), and the module shown was indeed producing distorted SSB. A cursory examination of the board also reveals failure of the emitter vias, but since the emitters are connected to the ground plane on both sides of the board, these additional failures do not prevent the unit from working. |
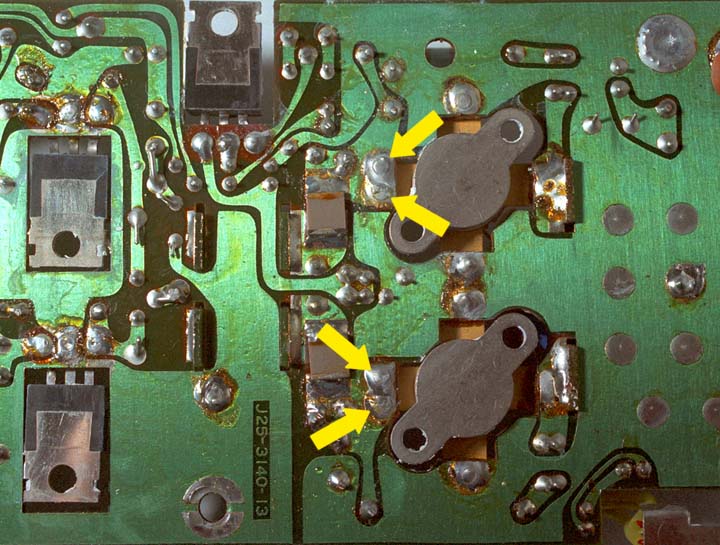
| Bridge the PA base vias with wire. This can be done without removing the transistors, by passing a wire through the gap to the side of the transistor tab. Also inspect all of the other vias on the board, particularly those at the driver transistors, and resolder as necessary. |
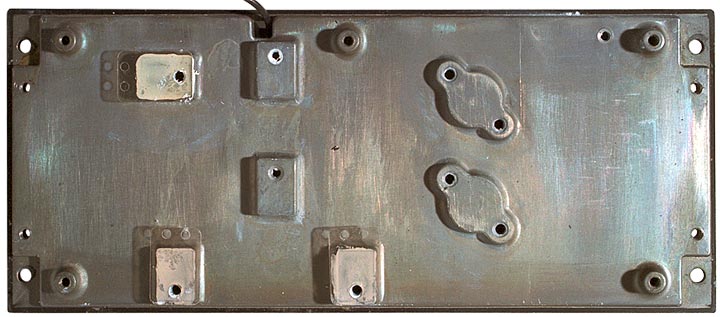
| Heatsink in preparation for reassembly, showing which transistors require mica washers. |
|
Points to note during reassembly and testing: |
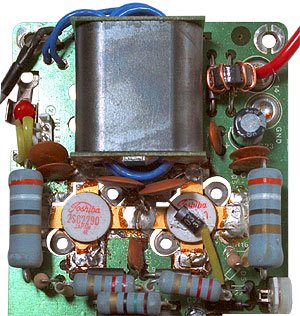 Output transformer and output transistors |
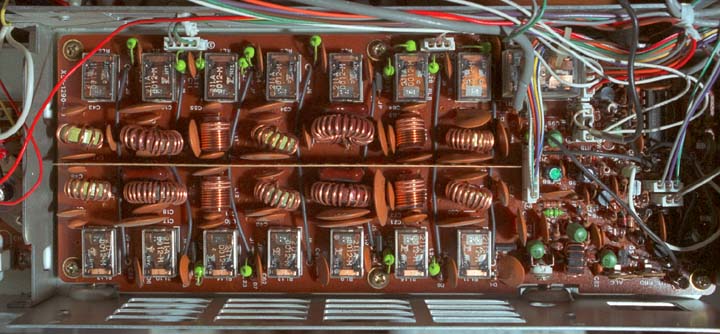
| Relay-switched Low-pass filters used to remove harmonics from the transmitter output. |
|
Equipment Reviews: Trio TS430S, Peter Hart G3SJX, Rad Com, June 1985. pp441-444. Trio TS930S and TS940S, Peter Hart G3SJX, Rad Com, May 1986, pp328-333. Related Links: |
- Home -